Content is the part of running a software studio that quietly eats your week. You know what you want to say, you just do not have three hours to turn a few notes into a polished post and then copy, resize, and caption it across every channel. At Tech TigeR we fixed that by putting an AI assistant, Claude, in the middle of our content pipeline. This is the exact workflow we use, and a step-by-step guide so you can set up the same thing.
A single announcement used to look like this: write the blog in a doc, move it into Webflow and fix the formatting, find or make an image, write a caption, post the blog, open Instagram and post there, then open Facebook and do it a third time. Every step is a context switch, and every channel wants the text and the image slightly differently. It is easy to spend half a day on one update.
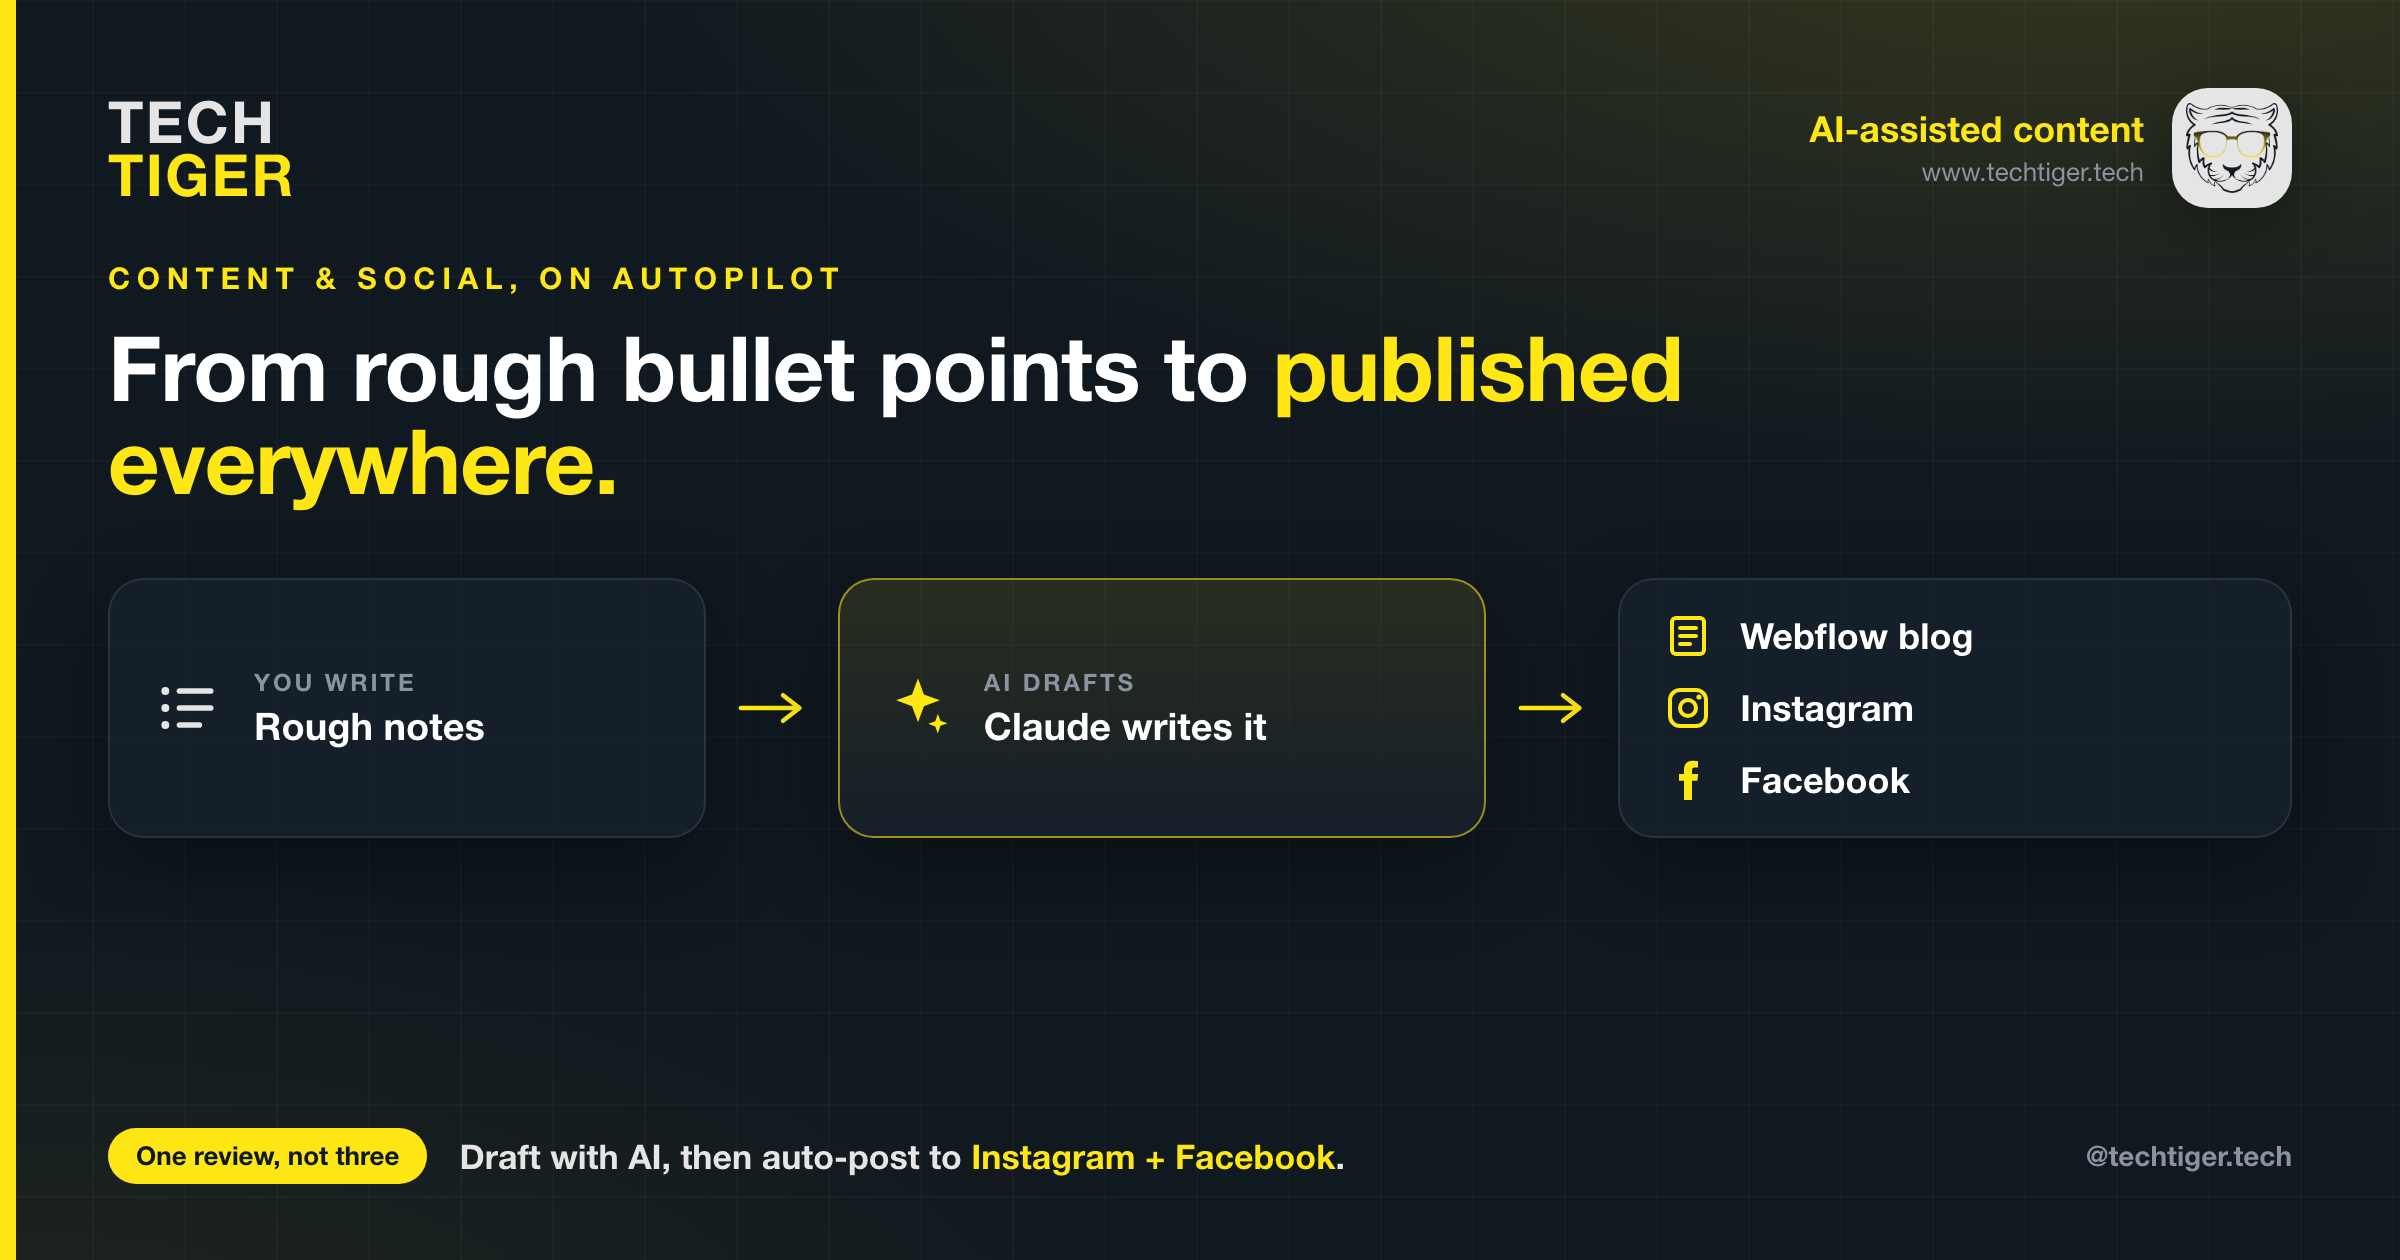
The fix was not to write less. It was to change two things: how the writing gets done, and how the publishing gets done.
I almost never write a blog post from a blank page anymore. I write bullet points. I jot down the handful of things I actually want to get across, in whatever order they occur to me, and hand them to Claude.
A typical prompt looks like this:
Turn these bullet points into a blog post for Tech TigeR. Keep our voice professional but friendly, use clear headings, and keep it skimmable. Here are the points: [paste rough notes]
What comes back is a structured draft with an intro, logical sections, and a closing call to action. I read it, tweak the parts that are too generic, and ask for changes in plain language, such as "tighten the intro" or "add a short section on security." A few rounds of that and the post is done.
Why this works so well:
A few things we have learned: give it real specifics, not vague themes, or the draft comes back generic. Always do an editing pass yourself so the post sounds like you and the facts are right. And keep a short note of your brand voice and reuse it every time.
This is where the real time savings show up. Once the blog is live, the announcement posts for Instagram and Facebook are near-identical, so why do them by hand? With a Meta app and a couple of access tokens, Claude can post to both platforms through the Meta Graph API. You approve the caption, and the post goes out.
Here is how to set it up. Do this once, and it keeps working.
Make sure your Instagram account is a Business or Creator account (Instagram app, Settings, Account type) and that you have a Facebook Page for your brand. In your Facebook Page settings, link your Instagram account to the Page. This link is what lets one set of credentials reach both platforms.
Go to developers.facebook.com, log in with the account that manages your Page, and open My Apps, Create App. Choose the Business app type, give it a name such as "Tech TigeR Social," and create it. This app is just the container that holds your permissions and tokens. You are not building anything for users to install.
In your app dashboard, add the Instagram Graph API and Facebook Login products. The permissions (scopes) you will need are:
Open the Graph API Explorer (in the Tools menu on the developer site). Select your app, click Generate Access Token, and approve the scopes above. This gives you a short-lived User token.
Two more values you need:
Short-lived tokens expire in about an hour, which is useless for automation. Exchange yours for a long-lived token (roughly 60 days) by calling the oauth/access_token endpoint with grant type fb_exchange_token and your app ID and secret. Store the long-lived token somewhere safe. When it expires, you refresh it the same way.
Now Claude has everything it needs: a Page token and Page ID for Facebook, and an Instagram token and account ID for Instagram. Posting works like this under the hood:
In practice we keep all of this in a small script. I tell Claude what we are announcing, it drafts the captions and hashtags in our voice, shows them to me for a quick approval, and then publishes to both platforms in one go. What used to be three separate posting sessions is now one review.
Access tokens are passwords. Treat them that way. Never commit them to a public repository, never paste them into a screenshot, and keep them in a file or secrets manager that is excluded from version control. If a token ever leaks, revoke it in your app dashboard and generate a new one. Rotate them when they expire rather than extending their life indefinitely.
The blog that took an afternoon now takes about twenty minutes of real attention: a few bullet points, an editing pass, and one approval before everything goes out. The AI does not replace the thinking. It removes the friction around the thinking, which is the part that used to make us put off posting at all. The result is that we publish more consistently, and consistency is most of what wins on content.
If you want help wiring this up for your own brand, this is exactly the kind of automation we build at Tech TigeR. Reach out and we will get you set up.
